My 3 yr old daughter took this pic of me

Saturday, September 3, 2011

Family Rock Magnets

I wanted to do an easy, fun craft with the kids that would not end up being thrown out. I wanted it to cost nothing (use stuff on hand) and not be too difficult for Jasna, who is only 4, but fun enough for Logan, who is 10. This is what I came up with! (inspired by a blog I follow: http://www.prettyhandygirl.com/2011/09/my-sponsors-rock.html?utm_source=feedburner&utm_medium=email&utm_campaign=Feed%3A+PrettyHandyGirl+%28Pretty+Handy+Girl%29 and varied a bit)


Kids got some rocks from the driveway - small and smooth.

They washed them in warm, soapy water. 

Got out the paints and brushes and paper plates and napkins (cuz I don't have paper towel) and cups of water.

Put a napkin or papertowel on the plate and wet it a little - this will keep your paints from drying up too soon. 

Let 'em at it! Let them use their imaginations! 
(Like her "blue" shirt? lol she took her shirt off so she wouldn't get it messed up with paint) 

Mixing colors.....
Jasna's....
Logan's....

It turned into finger painting....

And then hand painting......

And then ARM painting LOL!

Wash up your kids. 

I encouraged Jasna to put her fingerprints on her rocks, since they were just solid colors. And Logan painted a design on each of his.

Then we painted on a clear coat of Varathane. 
Next, glue them each onto a magnet. I used school glue and it worked just fine. 
Top row: Logan's
Bottom row: Jasna's
These ones weren't dry yet, so they hadn't made it onto the fridge.
Left: Logan's
Right: Jasna's

I decided to do one for each of the children we have had in our home. 
This is before I put the clear coat on......
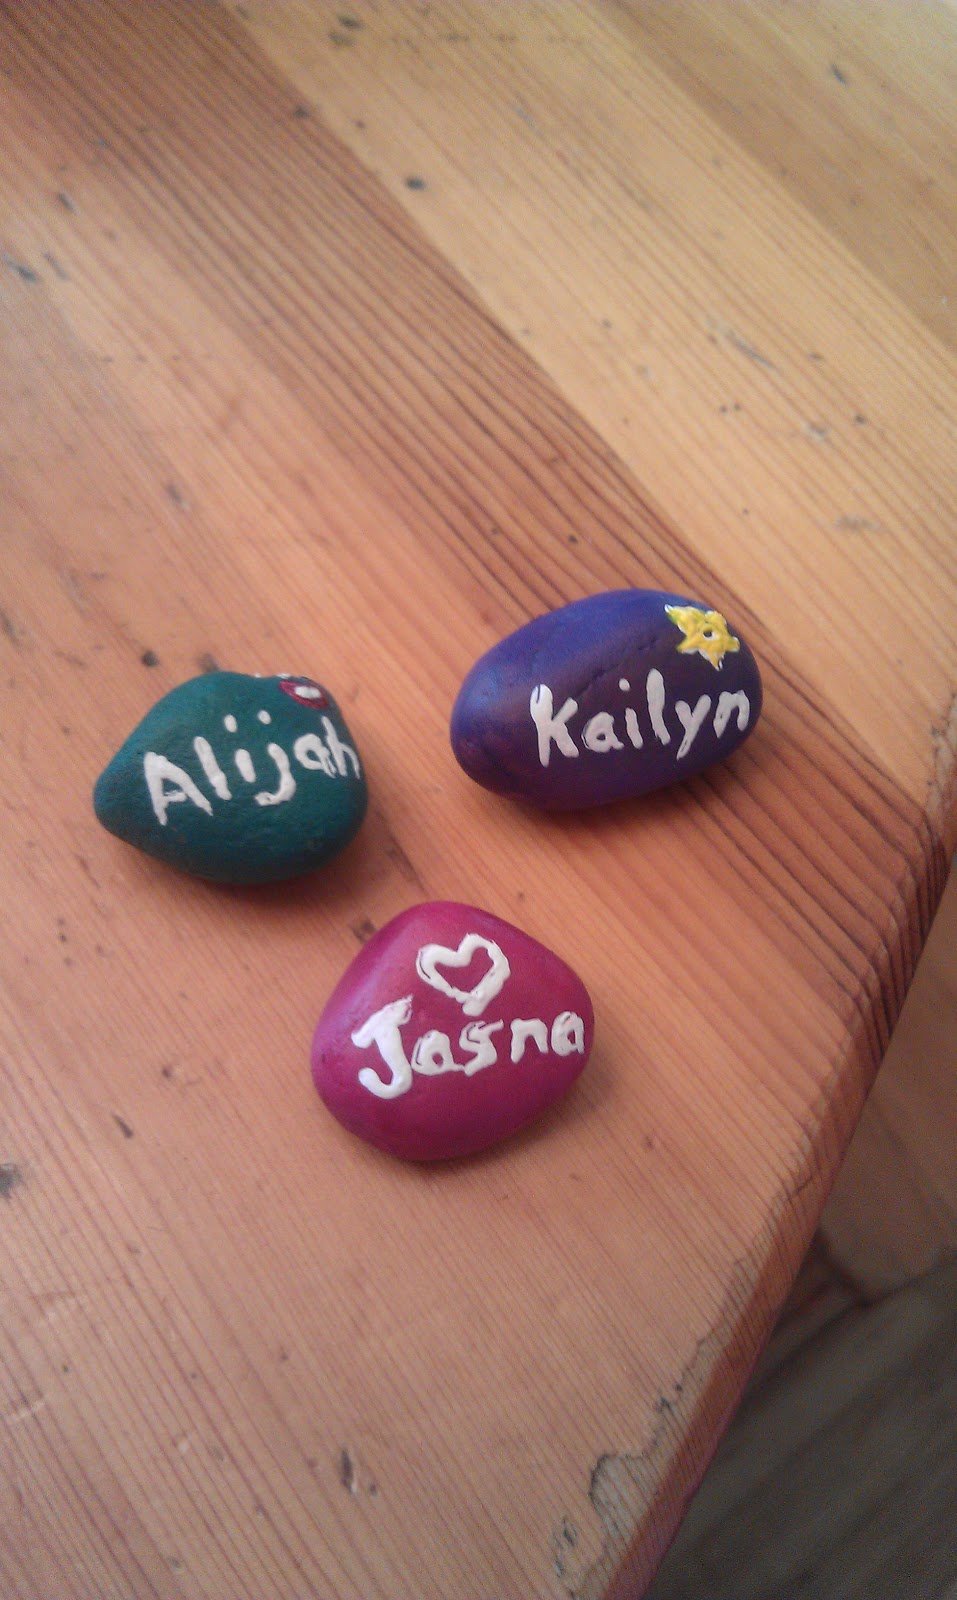
and after the clearcoat.......

Put 'em on the fridge!

I LOVE these :)

Friday, August 26, 2011

Faux Window Insert

Once a year (or so) I get super motivated to do a ton of projects around the house......for about a month. Well, this is that month, I guess. :) For quite awhile now, I've wanted to fake a window insert in the girls' bedroom window, but wasn't sure how I was gonna do it. My thoughts were: cheap/use what's on hand. As usual :)

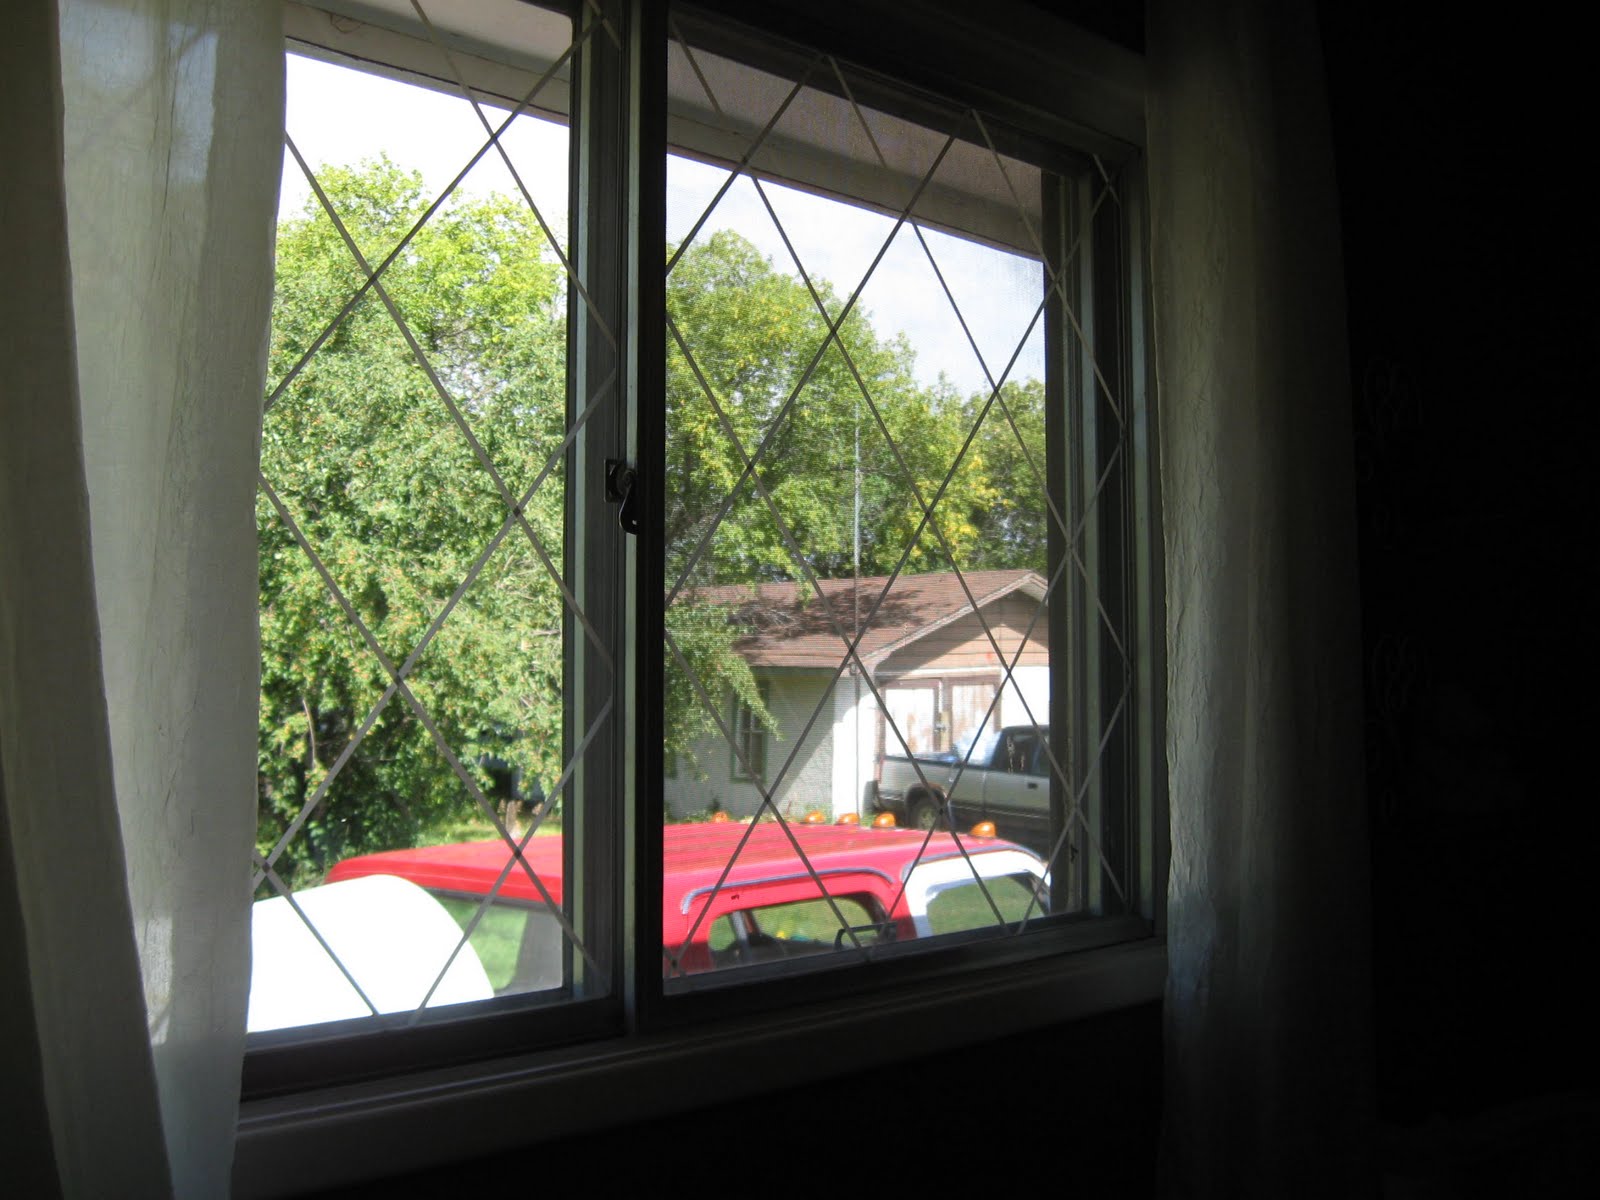
Luckily I couldn't find my white electrical tape anywhere (don't think it would've turned out as good as what I did use) and so I opted for this......


Silver dollar store curling ribbon...Yay! I should write a book for all the uses for ribbon lol

So this is the window before (which you can't see very well since it is daytime and there is so much light coming in)


They're old, dirty, and inefficient, with holes in the screen - yuck. boring. 

I used my "new" handy-dandy glue gun (thanks Dad #2) and measured and hot glued the ribbon in place. I opted for gluing it onto the back (outside) part of the window, instead of on the inside where the girls could rip it off. Plus it should hold up fine since there's another window panel between it and the outside.

I got my diamond shapes a little off, but what I learned about measuring for them was:

I measured my Left Height and divided that number by 3.
I measured my Bottom Width and divided that number by 3.
I measured from the Bottom to the Top on the Left side and marked every 9 1/4 in.
Then from Top Left to Right every 7 1/4 in.
Then from Top to Bottom on the Right side every 9 1/4 in.
and from Bottom Right to Left every 7 1/4 in.
Then I used a blue marker and marked the window frame with little dots where I would need to put glue.
I started by gluing a piece of ribbon from Bottom Left corner to Top Right corner and then another piece from Bottom Right corner to Top Left corner.


Then I glued my ribbons on diagonally. For the criss-crossing ribbon (the ones going in the opposite direction to the ones already glued on) I didn't have to measure, just line it up with the existing ribbons. Hope that made sense.

I like how the silver ribbon matches the windows so well :)

End result (after cleaning windows, of course):


It gives the room more of a girly/castle feel :)


Changed the curtains for now - made these a couple of years ago.

Wednesday, August 24, 2011

Logan's New Study Nook

So I got MOTIVATED today to do something, but I didn't know what. The list of what needs/I want to be done is seemingly endless......
  • organize my storage area
  • organize and CLEAN the laundry room
  • weed the gardens - I think that's useless at this point in the season
  • scrub down and fix up the "new" bbq I got off freecycle
  • facelift my kitchen - without spending any money (haven't figured out how yet)
  • paint the chairs to Sarah's kid's table
  • refinish our kids' table and chair set
  • refinish the computer desk
  • refinish our dining table
  • finish the walls in the entrance
  • fix the gate on the deck
  • create a bench in the entrance
  • ........
and so on and so forth.

So around noon I picked this closet that I didn't know what to do with......It's changed it's purpose so many times, but usually looks something like this........


or worse.

I don't have a whole room to dedicate to homeschool, so I have never really had a place for Logan to do his work. He just sits on the couch or at the dining room table - which has been fine. But the other day, I again asked him to take his books down to his room so the girls won't get them and he said, "Mom, I don't have anywhere to put my stuff up here. It's all your guys' stuff. Can't I have a shelf or something?" To which I didn't have an answer at that moment.

So.........inspiration + motivation + 2 hours + napping babies =


I used a can of paint I found in my basement that I didn't even know I had - I think I picked it up a couple years ago at the ECO station. I also had half a can of chalkboard paint left. I didn't have any rollers and I couldn't find my large paintbrush, so I was stuck with 2 options: Postpone the project until I had the proper tools (yeah right), or paint the closet with my 2" brush. I chose the latter - OF COURSE!!!

I used a couple pieces of wood from the yard to make a shallow shelf and grabbed Matthew's cork board off the wall in the hallway (shhhh...don't tell!) and found a piece of fabric in my sewing closet that I like - ripped it to size and tacked it onto the board with thumbtacks. The bottom shelf in the closet is now his desk. I would've painted it white instead of blue but I didn't have enough white paint left. So I might do that later just to brighten it up a bit. I also need to put a light of sorts in there. I'm thinking a battery operated wall sconce from Home Depot. I'm quite happy with this project - fast and fun and functional  - my fave!


Jasna is a great little helper :)

The boys aren't home yet and haven't seen it. I really hope he likes it! So yeah, I've been super motivated lately.....who's gonna come pick up the pieces when I crash??? ;)

Dollar Store Clothes Line & Our Family Name Scrabble Board

Hey! 2 more projects that I did recently........

I REALLY wanted to hang our clothes on the line (my favorite summer activity) and we don't have a clothes line, so I looked around to see what I could use and found this.........


(Actually the one I used was yellow but that one just rolled off the deck and I didn't feel like going to get it for the picture)
Fabulous eh? Got this for free, but it was from a dollar store originally. So I wrapped it around this a few times and stretched it across my deck... 


and wrapped it around another one over here......

 
(you'll notice that there's rope in the pic, too, but that didn't come until after - explanation to follow)
And it works great! See?


There are 4 lines to use


So Matthew came home and I very excitedly showed him my creation and he promptly went out to the garage and found me some rope that he wasn't using - nice guy :) and so I actually only got to use the ribbon version once, so I cannot guarantee how long it would've lasted. But I LOVE my rope clothes line! (we're thinking of getting a real one soon, but this is working great, so we'll see)

Project #2: Family Name Scrabble Board.

I stole this idea from Matthew's parents, who have one hanging in the entry at their home.

Things you will need for this project:
  • Scrabble game
  • A family (preferrably one with people that have first names)
  • White school glue or any kind of glue really
  • 15 minutes of your time
And you figure out how you want your names configured on the board and glue them on. Then I glued our last name onto the thingy (don't know what it's called) and glued that on. Ta da!


Like it? (That's a question - me likes comments)   :)

Tuesday, August 23, 2011

From Bed to Gate and Our Latest Craft!

Hey, so I had these leftover parts from a taken apart IKEA twin bed that have been sitting in my basement for......well, a long time. And I NEEDED another baby gate cuz Daisy LOVES to run down the hall and go in the bathroom after someone leaves the door open and splash in the toilet. YUCK! We've kept this bucket of blocks in the hallway to keep her out....


but it's annoying to move or jump over (especially for Jasna) and Daisy is so strong that she is starting to be able to move it just enough to squeeze thru!

So I took a headboard and a footboard like this one (only red)


and flipped one of them upside down and attached them to each other. (To keep Daisy from crawling underneath) and this is how it looks in our hallway....


I may paint it at some point, but I'll haven't decided.

The other project for the day was inspired by this......

given to me by my good friend, Amber, from her trip to Africa. I thought it was so cool so I decided to help Jasna make one to hang on her door. So out came the old sheet


and some cut off dowels from my last project (that I didn't blog about - a spring horse that needed new dowels to be functional. It sat on my deck for years, waiting patiently for it's turn to get fixed and now it is - see!)

dowels


spring horse with new dowels (and so faded from sitting in the sun for years)

I sawed one of the dowels by hand cuz it was the wrong size and I couldn't find my extension cord for my table saw, and then I grooved each dowel on each end with........yeah, my serrated kitchen steak knife - I'm just a "use-what's-on-hand" kind of girl ;)

I ripped my sheet into a long rectangle and folded over the edges and then ironed the edges down.


Then I let Jasna have-at-it with the paint - she loved the green


Then when it dried, I glued the sides down and glued the twine between the cloth on each end. Then tied the twine into the grooves on the dowels, and glued a piece of twine for the handle. Outside it went to dry again.


And this is the finished product........


pretty cool eh? Favorite craft to date :)